
Polycarbonate roofing sheets have become the go-to choice for modern construction projects. Whether you are building a greenhouse skylight, a backyard pergola, a patio cover, or an industrial carport, polycarbonate panels offer the perfect blend of lightweight flexibility, extreme durability, and high light transmission.
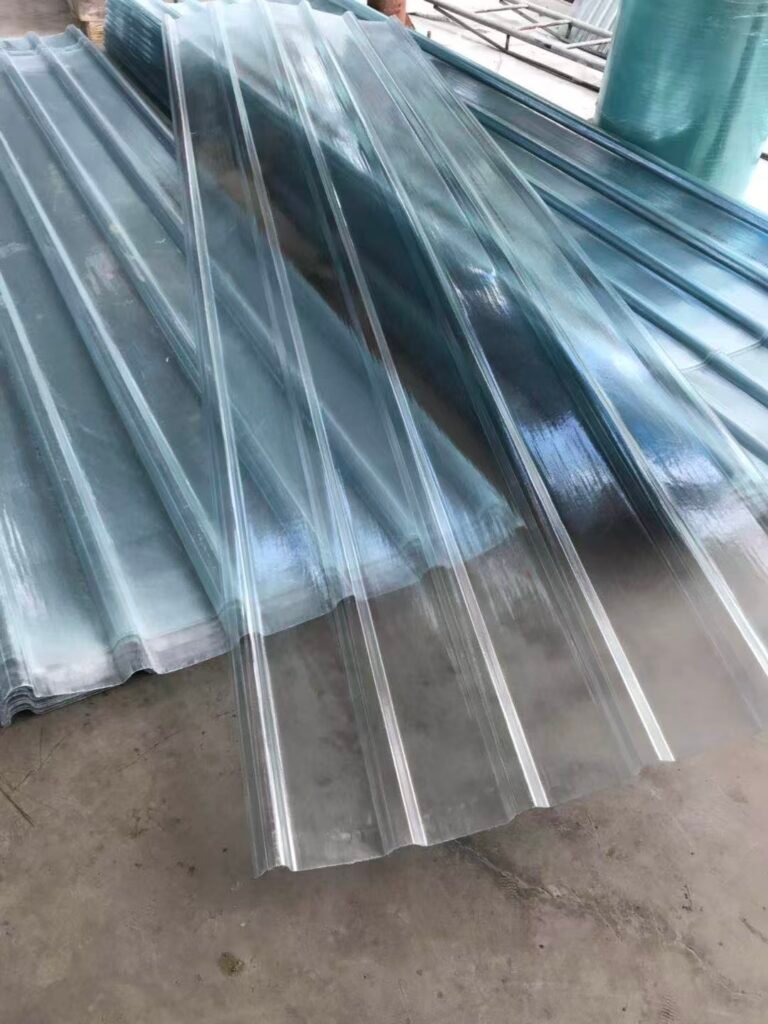
Polycarbonate roofing sheets have become the go-to choice for modern construction projects. Whether you are building a greenhouse skylight, a backyard pergola, a patio cover, or an industrial carport, polycarbonate panels offer the perfect blend of lightweight flexibility, extreme durability, and high light transmission.
However, to maximize the lifespan of your roof and ensure it remains leak-free and impact-resistant, proper installation is paramount. In this comprehensive guide, we will walk you through the essential tools, preparation, and step-by-step process for a professional polycarbonate roofing installation.
- Pre-Installation Preparation & Tools
Before you begin mounting your corrugated plastic roofing or multiwall sheet, you need to gather the right tools and prepare your structural frame (wooden or metal purlins).
Essential Tools and Materials:
- Polycarbonate sheets (e.g., Multiwall or Corrugated panels)
- UV-resistant roofing screws with EPDM washers
- Anti-dust tape (for multiwall sheets) and aluminum end profiles (U-profiles)
- Silicone sealant (must be non-aggressive and polycarbonate-compatible)
- Fine-tooth circular saw or jigsaw
- Power drill and appropriate drill bits
Framework Check:
- Roof Pitch: Ensure your roof has a minimum slope of 5° to 10° (approx. 90mm per meter). This allows rainwater to run off effectively and prevents pooling.
- Purlin Spacing: For corrugated sheets, purlin spacing typically ranges from 600mm to 800mm. For multiwall sheets, check the manufacturer’s specification based on the sheet thickness.
- Step-by-Step Installation Process
Step 1: Identify the UV-Protected Side
Most high-quality polycarbonate sheets (such as UV protected roofing sheets) feature a specialized coating on one side to protect against solar degradation.
⚠️ Crucial Note: Always install the sheet with the UV-protected side facing upwards toward the sun. This side is usually marked by a printed protective film. Do not peel this film off completely until the installation is finished to prevent scratching.
Step 2: Cutting and Drilling the Panels
- Cutting: Use a circular saw with a fine-tooth blade running at high speed, or a sharp hand utility knife for thinner sheets. Secure the panel firmly to minimize vibration.
- Drilling: Polycarbonate expands and contracts with temperature changes. You must pre-drill fastener holes that are 2mm to 4mm larger than the screw diameter to allow for thermal movement. Never use a nail or punch holes manually.
Step 3: Sealing Multiwall Sheets (If Applicable)
If you are using a polycarbonate multiwall sheet, you must seal the open flutes to prevent dust, moisture, and insects from entering:
- Apply solid aluminum tape at the top edge of the sheet.
- Apply breather/anti-dust tape at the bottom edge to allow condensation to escape.
- Cap both ends with an aluminum U-profile to mechanically lock the tape in place.
Step 4: Laying and Overlapping the Sheets
- Begin installing sheets from the side opposite the prevailing wind direction.
- Overlapping: For corrugated plastic roofing, overlap by at least one or two corrugations side-by-side. For end laps (top to bottom), ensure an overlap of 150mm to 200mm depending on the roof pitch.
- If using flat or multiwall panels, connect them using specialized H-profiles or aluminum glazing bars between adjacent sheets.
Step 5: Fixing the Screws
- Fasten the panels to the framework using specific roofing screws equipped with wide EPDM rubber washers.
- Where to fix: For corrugated sheets, always drive screws through the crests (peaks) of the corrugations, not the valleys, to prevent leaks.
- Tightness: Tighten the screws until the rubber washer is firmly seated against the panel. Do not over-tighten, as crushing the sheet will distort it and restrict thermal expansion, causing buckling later on.
- Pro-Tips for Long-Lasting Polycarbonate Roofs
- Never Walk Directly on the Sheets: Polycarbonate is tough but can crack under concentrated human weight. Always use crawl boards or ladders supported by the main framework if you need to step onto the roof.
- Thermal Expansion Gap: Leave a 3mm to 5mm gap where the sheets meet walls or ridge caps to accommodate structural shifting and expansion.
- Use the Right Sealant: Standard silicone sealants contain chemicals that can chemically attack and crack polycarbonate. Only use 100% neutral cure silicone sealants.
Conclusion
A successful polycarbonate roofing installation requires patience, precise measuring, and adherence to thermal expansion rules. By choosing the right materials—such as high-grade clear plastic roofing panels from a reliable China roof tile factory—and following these structural guidelines, your new roof will provide excellent natural lighting and robust weather protection for decades to come.
Thanks for this comp…
Excellent structural…
This is an incredibl…
We sourced a large b…


This is an incredibly detailed guide! I’ve been researching polycarbonate roofing installation for a backyard pergola project, and your step-by-step breakdown clarifies a lot of doubts. The tip about pre-drilling larger holes for thermal expansion is a lifesaver—many DIYers overlook this and end up with buckled sheets. Quick question: For coastal areas with high winds, would you recommend overlapping corrugated plastic roofing by two corrugations instead of one for better wind resistance? Looking forward to your next post on PVC roofing!